How to Fit Floating Shelves
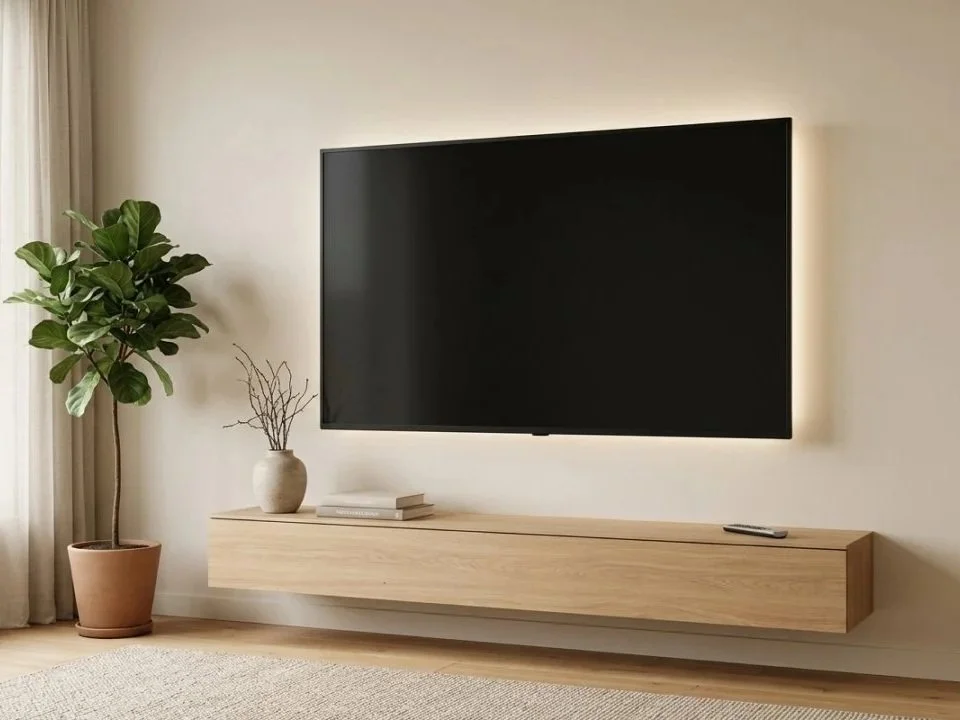
Floating shelves are a simple way to add extra storage and make a room feel more put together without taking up floor space. They work well in living rooms, bedrooms, kitchens and bathrooms, whether you want somewhere to display decorations, keep books or organise everyday essentials.
The best part is that floating shelves have no visible brackets, giving them a clean, modern look. However, getting that neat finish depends on more than just drilling a few holes. You need to choose the right position, use fixings that suit your wall and make sure the shelf can support the weight you plan to put on it.
If you are wondering how to fit floating shelves securely, this guide covers the main steps, from preparing the wall to checking that everything is properly fitted.

How to Choose the Shelf Position
Before you start drilling, take a moment to decide where the shelf will look best and work most practically. Think about what you want to put on it and how you will use the space around it.
For example, a shelf above a desk should be easy to reach without getting in the way, while one in the living room might sit higher to display ornaments or framed photographs. In a kitchen, consider keeping shelves close enough to the worktop for everyday items but far enough away from heat sources and splashes.
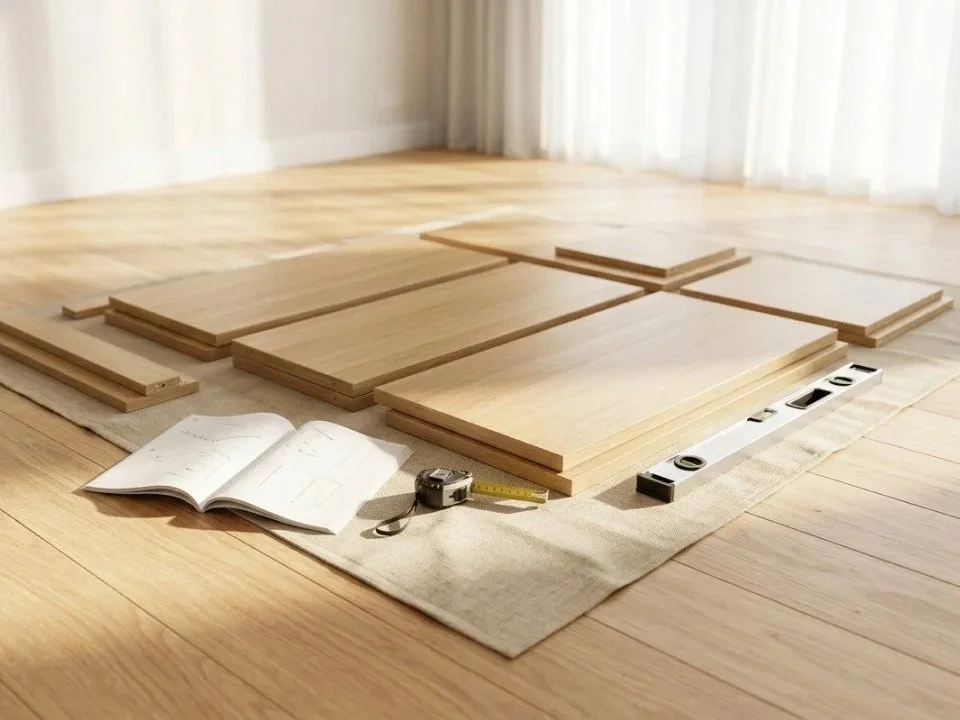
Use a tape measure and pencil to mark your preferred height. If you are fitting more than one shelf, measure the gaps between them carefully to keep the arrangement balanced.
It is also worth checking for hidden pipes and electrical cables before drilling. A cable and pipe detector can help you identify potential hazards behind the wall. Never assume that a wall is clear just because there are no visible sockets or pipes nearby.
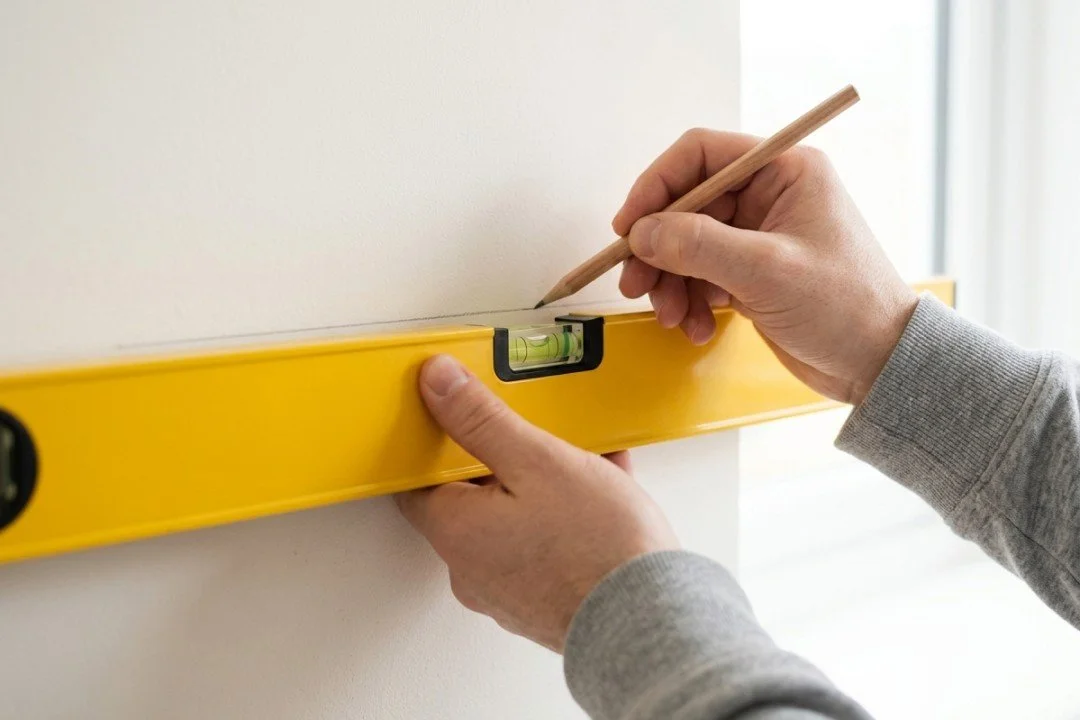
Once you are happy with the position, use a spirit level to check that your markings are straight. Even a small mistake can be noticeable once the shelf is in place.
Identifying the Wall Type
The type of wall you are working with determines which fixings you need and how securely the shelf can be mounted. Brick, masonry and plasterboard all require different approaches, so it is important to identify the surface before buying your materials.
Brick and Masonry
Brick and masonry walls can provide strong support for floating shelves when you use suitable fixings. However, the right choice depends on the condition of the wall, the shelf design and the weight it needs to carry.
For solid brick or concrete, you will generally need a drill with the appropriate masonry bit and wall plugs or masonry anchors that match the fixing system. Check the manufacturer's instructions for the correct drill bit size and hole depth.
Avoid drilling into loose mortar or damaged brickwork where possible, as these areas may not provide a reliable hold. If the wall is old, cracked or crumbling, it is worth getting professional advice before fitting a heavily loaded shelf.
Plasterboard and Studs
Fitting floating shelves on plasterboard requires a little more care because plasterboard alone may not be strong enough to support a heavy shelf. The most secure option is usually to fix the brackets directly into the timber or metal studs behind the board, provided the fixings are suitable for that structure.
A stud detector can help you locate the supporting framework. Once you have found a stud, mark its position and check whether it lines up with the shelf brackets. Some floating shelf systems need more than one fixing point, so you may need to adjust the shelf position slightly.
If you cannot fix into a stud, specialist plasterboard anchors may be suitable for lighter loads, depending on the wall construction and the shelf manufacturer's recommendations. Do not assume that any plasterboard fixing will hold a heavy shelf securely. For heavier items, consider a different mounting position or ask a professional to assess the wall.
Choosing Compatible Brackets and Fixings
The brackets are what keep a floating shelf in place, so choosing the right ones is essential. Floating shelf brackets come in different designs, including concealed metal rods, support plates and systems designed specifically for particular shelf types.
Start by checking the shelf manufacturer's instructions. Some shelves are designed to work only with a specific bracket system, and using a different one may affect their stability.
Next, consider the shelf's dimensions and intended load. A long, deep shelf holding books will put more strain on its fixings than a small shelf displaying a few lightweight ornaments. The further the weight extends from the wall, the greater the leverage on the brackets.
Make sure the fixings are suitable for your wall material as well. Masonry plugs are not designed for plasterboard, and plasterboard anchors are not a substitute for appropriate masonry fixings. When fixing into timber studs, use screws that are suitable for the bracket and the supporting timber.
Check the load ratings provided by the manufacturer and follow any restrictions that apply to the complete shelf system. The strength of the shelf itself does not automatically determine how much weight the wall fixings can support.
How to Measure and Mark the Bracket Positions
Accurate measurements make the installation easier and help prevent a shelf from sitting at an angle. Before drilling, check the bracket spacing against the instructions supplied with your shelf.
Hold the shelf or bracket template against the wall, if one is provided, and mark the fixing points with a pencil. If you are working without a template, measure the distance between the bracket holes carefully and transfer those measurements to the wall.
Use a spirit level to make sure the marks are aligned horizontally. For longer shelves, check the level across the full width rather than relying on one small section.
It is also worth measuring twice before drilling. Check that the brackets will sit in the correct position inside the shelf and that all the fixing points line up with suitable parts of the wall. This is particularly important when fitting shelves on plasterboard, where the bracket positions may need to match the studs behind the surface.
Once you are satisfied with the layout, mark the drilling points clearly. Recheck for hidden pipes and cables before making any holes.
Fitting the Brackets and Shelf
With the measurements checked and the right fixings ready, you can begin installing the shelf. The exact process depends on the bracket system, so always follow the manufacturer's instructions first.
Start by drilling the holes at the marked positions, using the correct drill bit for your wall type. Keep the drill steady and follow the recommended hole depth. Wear suitable eye protection and take care when drilling into masonry, which can produce a lot of dust.
Insert the appropriate plugs or anchors where required. If you are fixing into timber studs, use suitable screws to secure the brackets directly to the supporting framework.
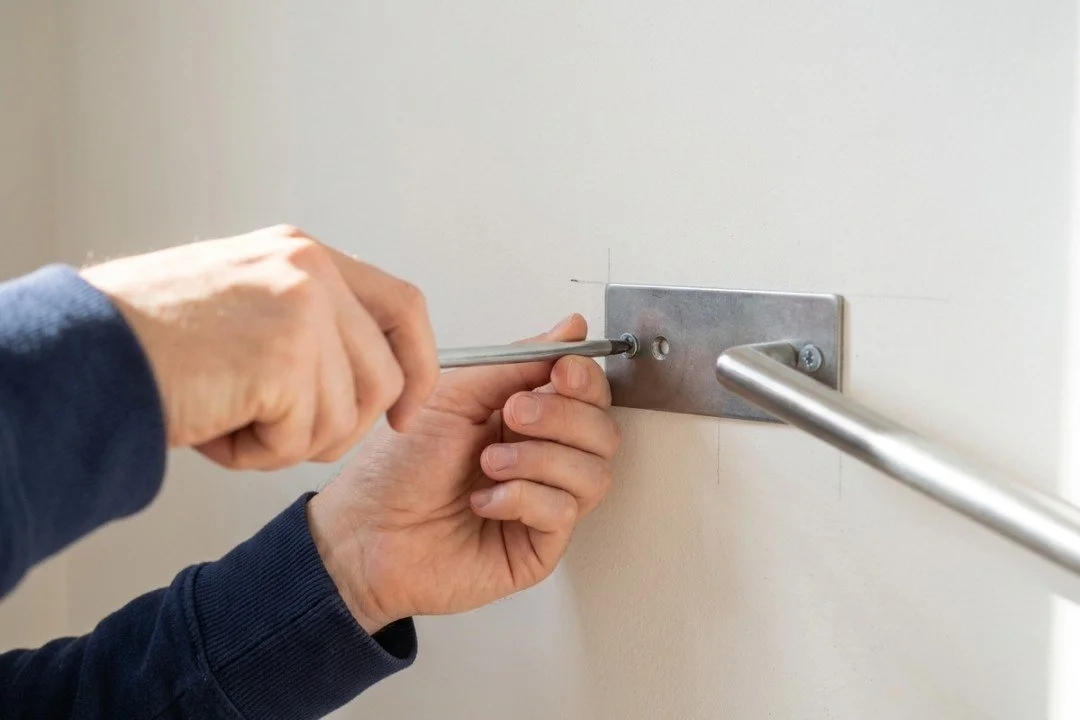
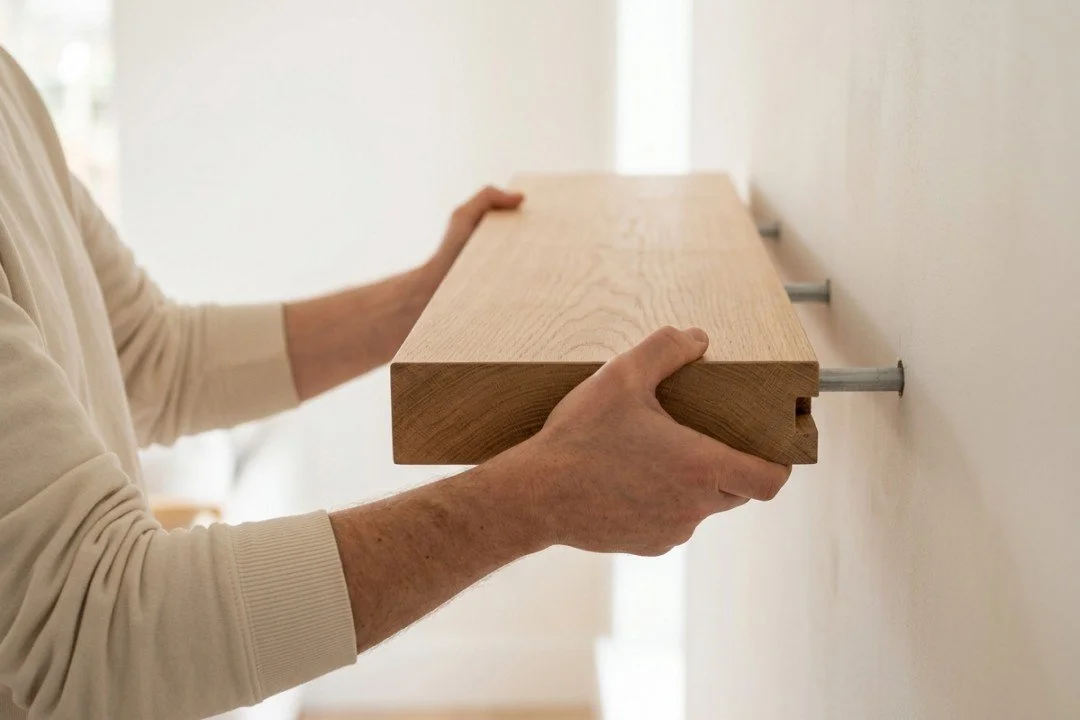
Position the brackets over the holes and tighten the fixings securely, without overtightening them or damaging the wall. Before adding the shelf, check that the brackets do not move and that they are level. If the bracket system has adjustable components, make any necessary changes at this stage.
Next, slide or lower the shelf onto the brackets, depending on its design. Some systems require additional screws to lock the shelf in place, while others rely on a close fit over the concealed supports. Secure any locking screws according to the instructions.
Once the shelf is fitted, check that it sits flush against the wall and does not wobble or tilt. If it feels loose, remove the shelf and investigate the fixings rather than trying to correct the problem by adding weight.
What to Check Before Loading the Shelf
Before putting anything on your new shelf, take a few minutes to check that everything is secure. This final step can help prevent damage to the wall, the shelf and the items you plan to display.
Start by checking that all the brackets and fixings are tight and that the shelf sits level. Look for gaps between the shelf and the wall, visible movement or signs that the fixings are pulling away from the surface. If anything feels unstable, do not load the shelf until the issue has been resolved.
Check the manufacturer's maximum load rating and make sure you understand whether it applies to the shelf itself, the brackets or the complete installation. The wall material and the quality of the fixings also affect the safe load.
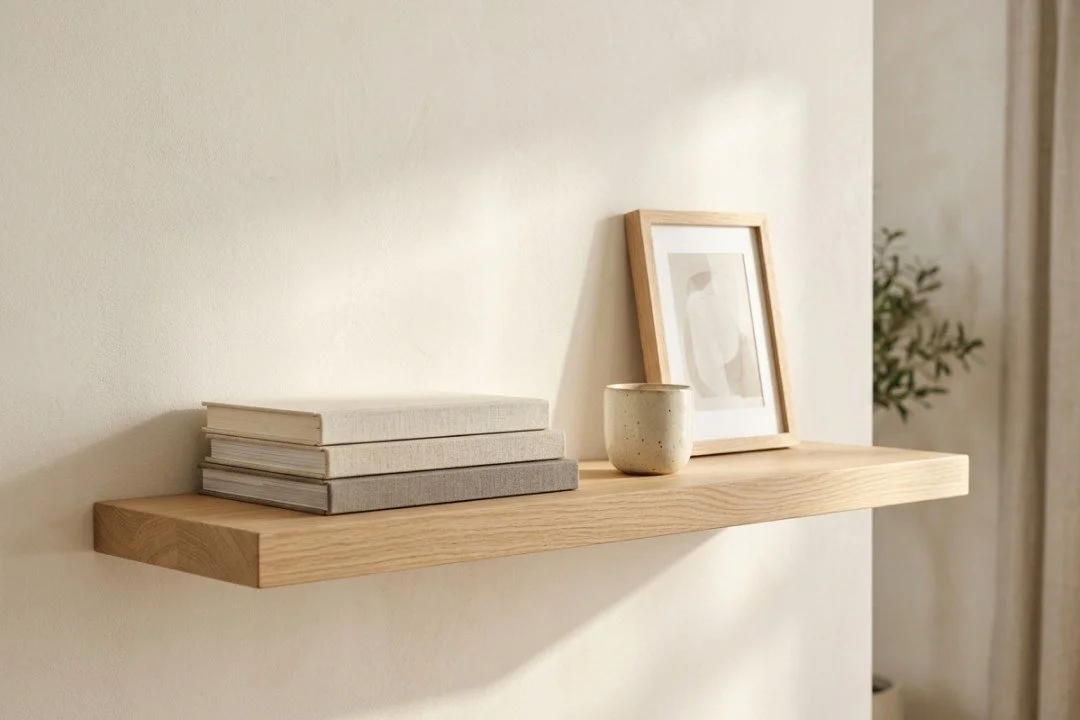
When everything looks secure, start with a few lightweight items and distribute the weight evenly across the shelf. Avoid placing heavy objects near the front edge, where they can put extra strain on the brackets.
If the shelf is intended to hold heavy books, appliances or other substantial items, make sure the installation has been designed for that purpose. When you are unsure about the wall construction or the strength of the fixings, it is safer to get professional help before using the shelf.
Fitting floating shelves is a manageable DIY project when you plan the position carefully, identify the wall type and choose compatible brackets and fixings. With the right preparation, you can create a practical storage solution that looks neat and stays securely in place.