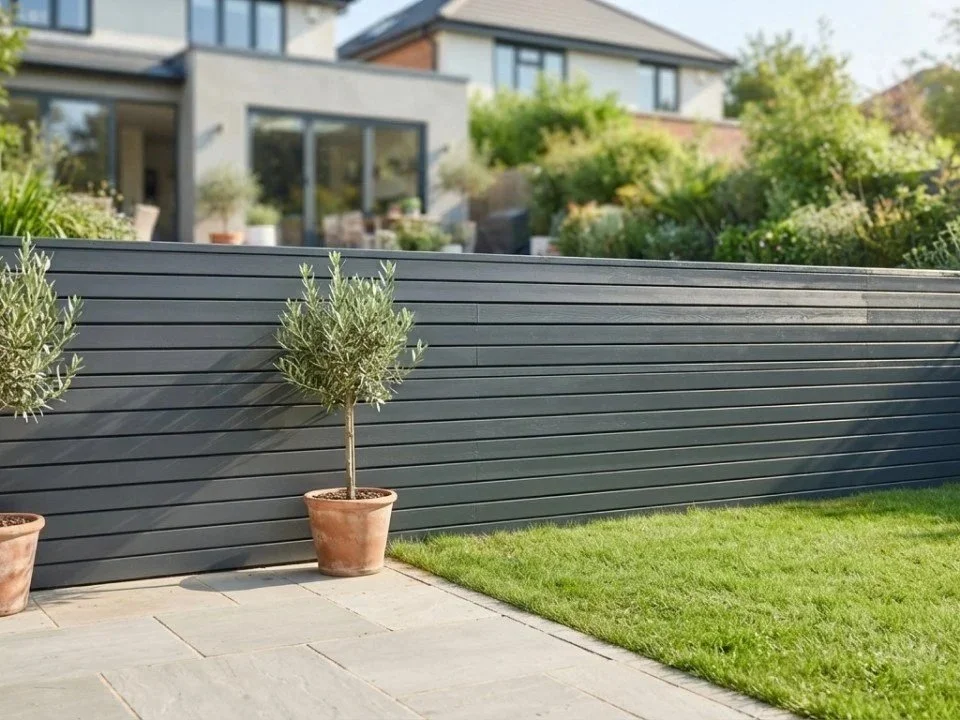
How to Paint a Fence: Preparation, Steps and Best Time to Do It
A well-painted fence does much more than improve the look of your garden. It helps protect the wood from rain, sunlight and everyday wear, making your fence last longer while giving your outdoor space a fresh, tidy appearance.
Whether you are refreshing an old fence or working with a brand-new one, knowing how to paint a fence properly can save you time, money and effort. From choosing the right weather to preparing the surface and applying the paint correctly, every step makes a difference.
In this guide, we will cover everything you need to know about fence painting, including the best products to use, common mistakes to avoid and practical fence painting tips for a professional-looking finish.
How to Get Rid of Ants in the House: Causes and Long-Term Solutions
How to Clean Gutters Safely: Tools, Steps and When to Get Help
How to Fix a Running Toilet: Common Causes and Simple Checks

Why Should You Paint Your Fence?
Wooden fences are constantly exposed to changing weather conditions. Rain, frost, UV rays and moisture can all damage untreated timber over time, causing it to crack, fade or rot.
Painting a fence offers several important benefits:
Protects the wood from moisture and weather damage.
Helps prevent rot, mould and mildew.
Extends the lifespan of your fence.
Improves the appearance of your garden.
Adds value and kerb appeal to your property.
Makes future maintenance easier.
A quality fence paint acts as a protective barrier, helping the timber stay in good condition for years.
When Is the Best Time to Paint a Fence in the UK?
One of the biggest factors in a successful project is choosing the best time to paint a fence.
The ideal conditions are:
Dry weather for at least 24 to 48 hours before and after painting.
Temperatures between 10°C and 25°C.
Low humidity.
A calm day with little wind.
Late spring, summer and early autumn are usually the best seasons for fence painting in the UK.
Avoid painting when:
Rain is expected.
The wood is damp.
The fence is in direct, intense sunlight all day.
Temperatures are close to freezing.
Painting in very hot weather can cause the paint to dry too quickly, leaving visible brush marks. Damp weather can prevent the paint from bonding properly with the wood.
Paint or Stain: Which One Should You Use?
One of the most common questions homeowners ask is whether to choose fence stain or paint.
Both have advantages, depending on the finish you want.
Fence Paint
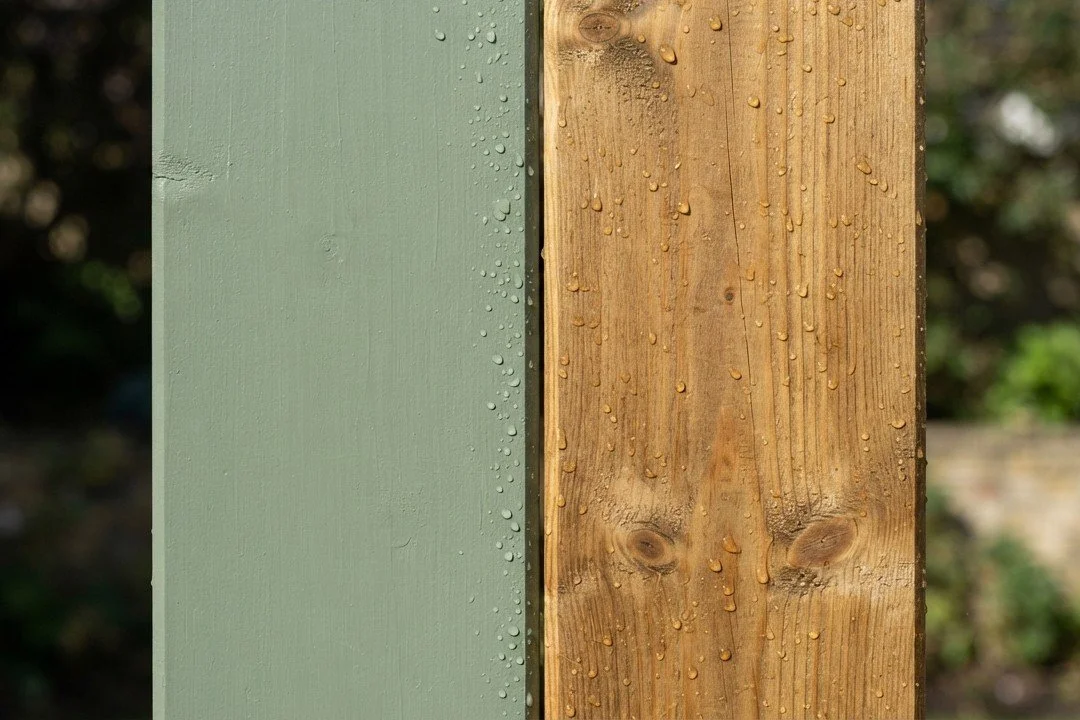
Fence paint creates a solid coloured coating that completely covers the wood grain.
It is ideal if you want:
A modern appearance.
Strong protection against weather.
A wide choice of colours.
To hide imperfections in older timber.
Good-quality fence paint usually lasts several years before needing another coat.
Fence Stain
Fence stain penetrates into the wood instead of forming a thick coating.
It is suitable if you want:
A more natural look.
The wood grain to remain visible.
Easier maintenance.
Less risk of peeling over time.
If your fence is made from attractive timber, stain is often the better option. If the wood is older or weathered, paint usually provides better coverage.
How Do You Prepare a Fence for Painting?
Learning how to prepare a fence for painting is just as important as applying the paint itself.
Skipping preparation often leads to peeling, uneven coverage and a shorter-lasting finish.
1. Clean the fence
Remove dirt, moss, algae and loose debris using:
A stiff brush.
Warm soapy water.
A pressure washer (used carefully).
Allow the fence to dry completely afterwards.
2. Remove old loose paint
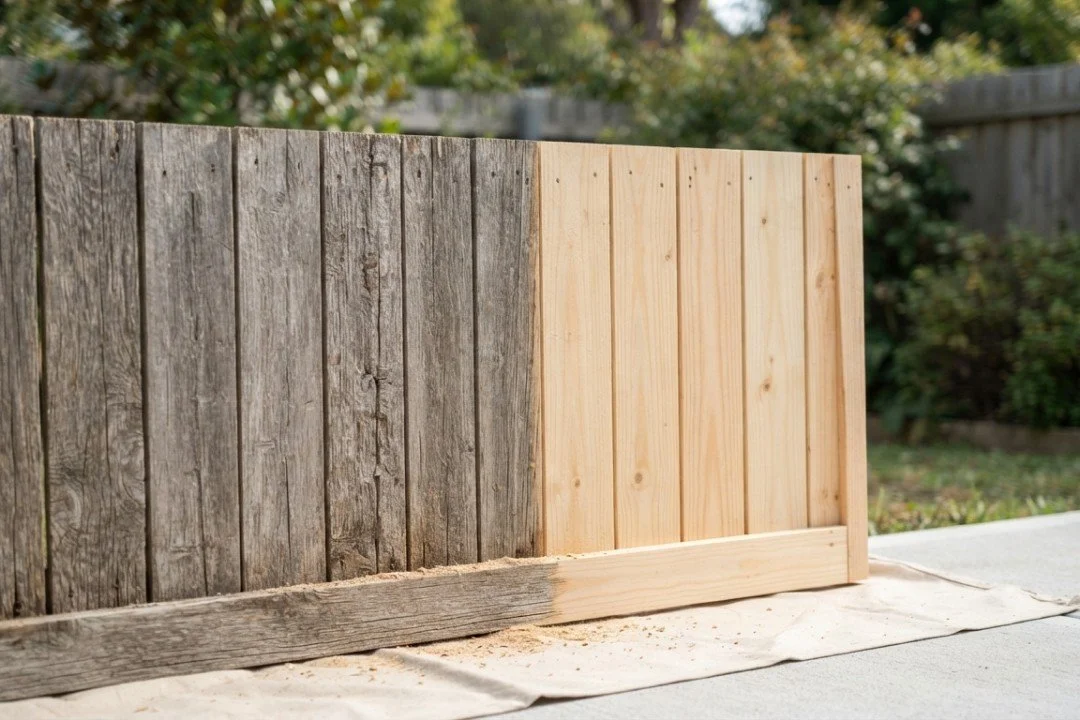
If the fence has been painted before, scrape away any peeling or flaking paint.
3. Sand rough areas
Lightly sand rough patches to create a smoother surface and improve paint adhesion.
4. Repair damaged wood
Replace broken boards and fill small cracks with exterior wood filler.
5. Protect nearby surfaces
Cover nearby plants, patios and decking with dust sheets or plastic sheeting before you begin.
Good preparation helps the paint last much longer.
How to Paint a Fence Step by Step
Once your fence is clean and dry, you are ready to start.
Step 1: Choose the right paint
Select an exterior fence paint designed specifically for outdoor timber.
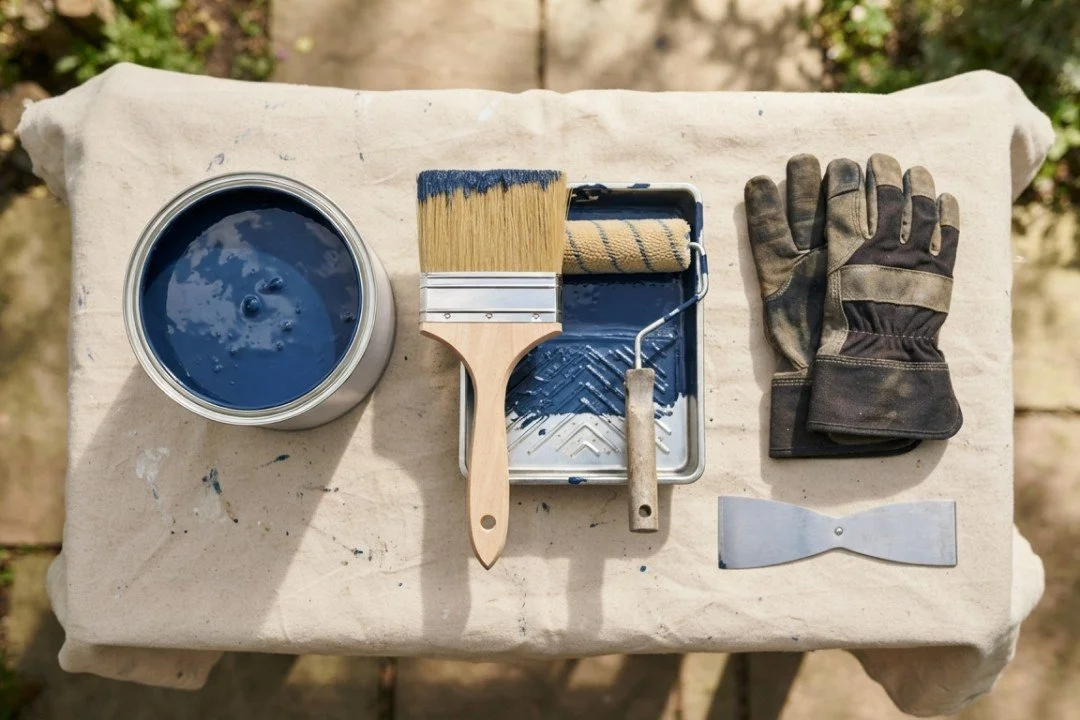
Step 2: Gather your tools
You may need:
Fence brush
Roller
Paint sprayer
Paint tray
Protective sheets
Gloves
A sprayer is the fastest option for large fences, while brushes are better for detailed areas.
Step 3: Stir the paint
Mix the paint thoroughly before use to ensure an even colour.
Step 4: Apply the first coat
Start at the top of each panel and work downwards.
Paint with the direction of the wood grain using long, even strokes.
Avoid applying too much paint at once.
Step 5: Allow it to dry
Follow the manufacturer's drying instructions before applying another coat.
Step 6: Apply a second coat
Most fences benefit from two coats for better durability and a more even finish.
Taking your time is one of the most valuable fence painting tips, as rushing often leads to drips and uneven coverage.
What Mistakes Should You Avoid When Painting a Fence?
Even experienced DIY enthusiasts make mistakes from time to time.
Some of the most common include:
Painting damp wood
Moisture trapped beneath the paint can cause peeling.
Ignoring the weather forecast
Unexpected rain can ruin freshly applied paint.
Skipping preparation
Proper cleaning and sanding help the paint bond to the wood.
Applying paint too thickly
Thick coats take longer to dry and can crack over time.
Using indoor paint
Always choose products specifically designed for exterior timber.
Forgetting maintenance
Even the best paint eventually needs refreshing to keep your fence protected.
Avoiding these mistakes will give you a longer-lasting and more professional finish.
Get Help with Fence Painting on HomeRun
Painting a fence can take several hours, especially if you have a large garden or an older fence that needs repairs first.
If you would rather leave the work to an experienced professional, HomeRun makes it easy to find trusted local painters.
Whether you need a complete fence makeover, repairs before painting or advice on choosing the right finish, you can compare professionals, read verified reviews and request free quotes—all in one place.
A professional can also complete the job more quickly while ensuring a smooth, durable finish that stands up to the British weather.
How long does fence paint last?
Most quality fence paint lasts between 3 and 8 years, depending on:
The type of paint.
The quality of the timber.
Weather exposure.
How well the fence was prepared.
Ongoing maintenance.
South-facing fences exposed to strong sunlight may need repainting sooner than fences in shaded areas.
Can you paint a fence in winter?
In most cases, winter is not the ideal time for painting a fence.
Cold temperatures, frost and damp conditions make it difficult for paint to dry and cure properly.
If you must paint during winter, choose a mild, dry day with temperatures above the minimum recommended by the paint manufacturer.
Do you need to sand a fence before painting?
Not always.
If the fence is new, smooth and untreated, only light sanding may be necessary.
For older fences, sanding is recommended to:
Remove loose paint.
Smooth rough areas.
Improve adhesion.
Create a more even finish.
Sanding does not have to remove every previous layer of paint. The goal is simply to create a stable surface for the new coating.
Final Thoughts
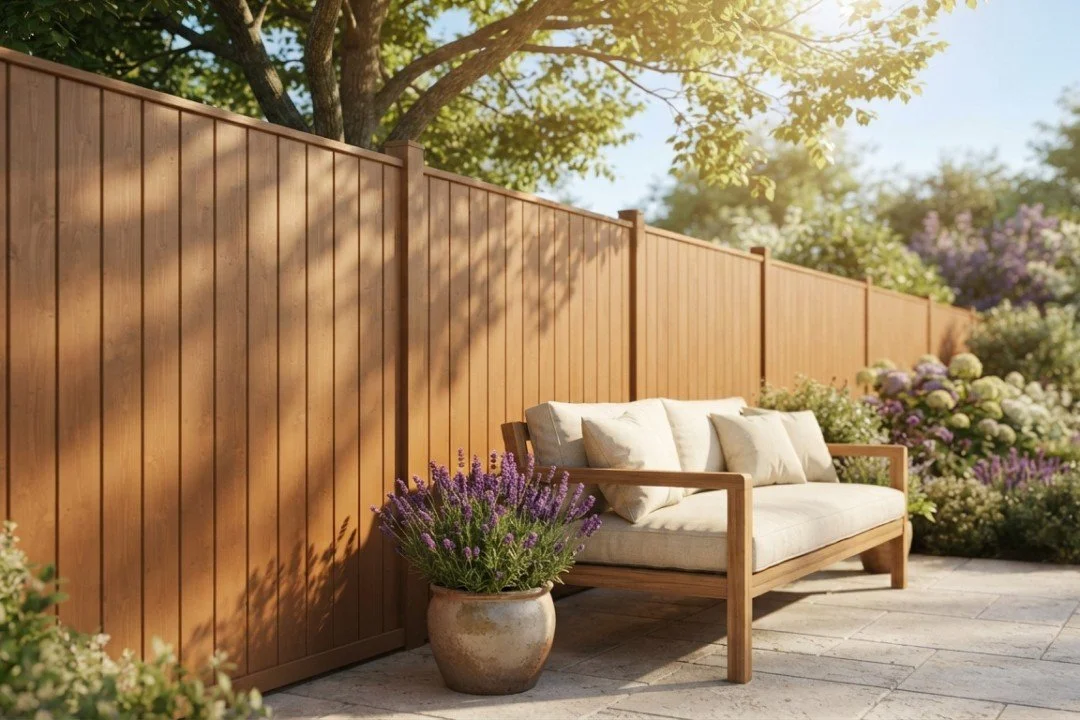
A freshly painted fence can completely transform the look of your garden while protecting the timber for years to come.
Choosing the best time to paint a fence, using the right fence paint, and understanding how to prepare a fence for painting are the keys to achieving a durable finish.
Whether you decide on fence stain or paint, taking the time to prepare the surface and apply the coating carefully will deliver the best results. And if you would rather save yourself the hard work, a professional fence painter can help you achieve a beautiful finish with less hassle.