
How to Varnish Wood: Step-by-Step to a Professional Finish
Varnishing wood is one of those jobs that appears a faff until you try it. If you get into your rhythm, though, it is quite straightforward – and the finish can be very satisfying. If you are stripping an old chair, restoring a coffee table, or even working on a big job like floor varnish, having the knowledge to varnish wood properly is "that will do" to "wow, that looks fantastic.".
In this tutorial, I will walk you through it step by step. I will also point out along the way things like how to strip varnish off wood, what if you wish to try giving how to strip varnish off wood with vinegar a shot, and how to pick the best varnish for wood for your project.
What Is Flat Renovation and When Do You Need It?
What Is the End of Tenancy Cleaning? Steps and Time
How to Wash White Clothes Properly: Programmes, Temperatures and Handy Tips

Why Use Varnish on Wood? Benefits and Common Types
Protective and Cosmetic Uses of Varnish
Wood itself could be beautiful, but it's delicate. Wood scratches, stains, and bleaches in sunlight. Varnish gives it protection. Plus, there's that added benefit of a good wood varnish that makes the grain pop in a way that bare wood never quite does. If you want to experiment with look, you can also choose different colors of wood varnish – anything from clear gloss to earth colors.
Types of Varnish: Polyurethane, Acrylic, Oil-Based and Others
Not all varnishes are the same. Polyurethane is tough and best for floors. Acrylic dries fast and is a great varnish for beginners. Oil-based takes longer to put on but gives a warm, rich finish. Think about where it is headed and how much wear it will get when choosing a wood varnish.

Tools and Materials You Will Need
Brushes, Sandpaper, Tack Cloths, and Others
You don't require a shed's worth of tools. A good brush, sandpaper (medium and fine), a tack cloth, and your preferred varnish will be sufficient for most projects. If you want a nice finish, invest in a soft-bristled brush – it's worth it.
Selecting the Right Varnish for Your Project
The best varnish for wood is different depending on what you're using. Satin finish suits furniture. Glossy works well on tabletops, if you want shine. Polyurethane or something more hard-wearing is needed on floors. Feel free to experiment with a few of the wood varnish colors on a test piece beforehand.
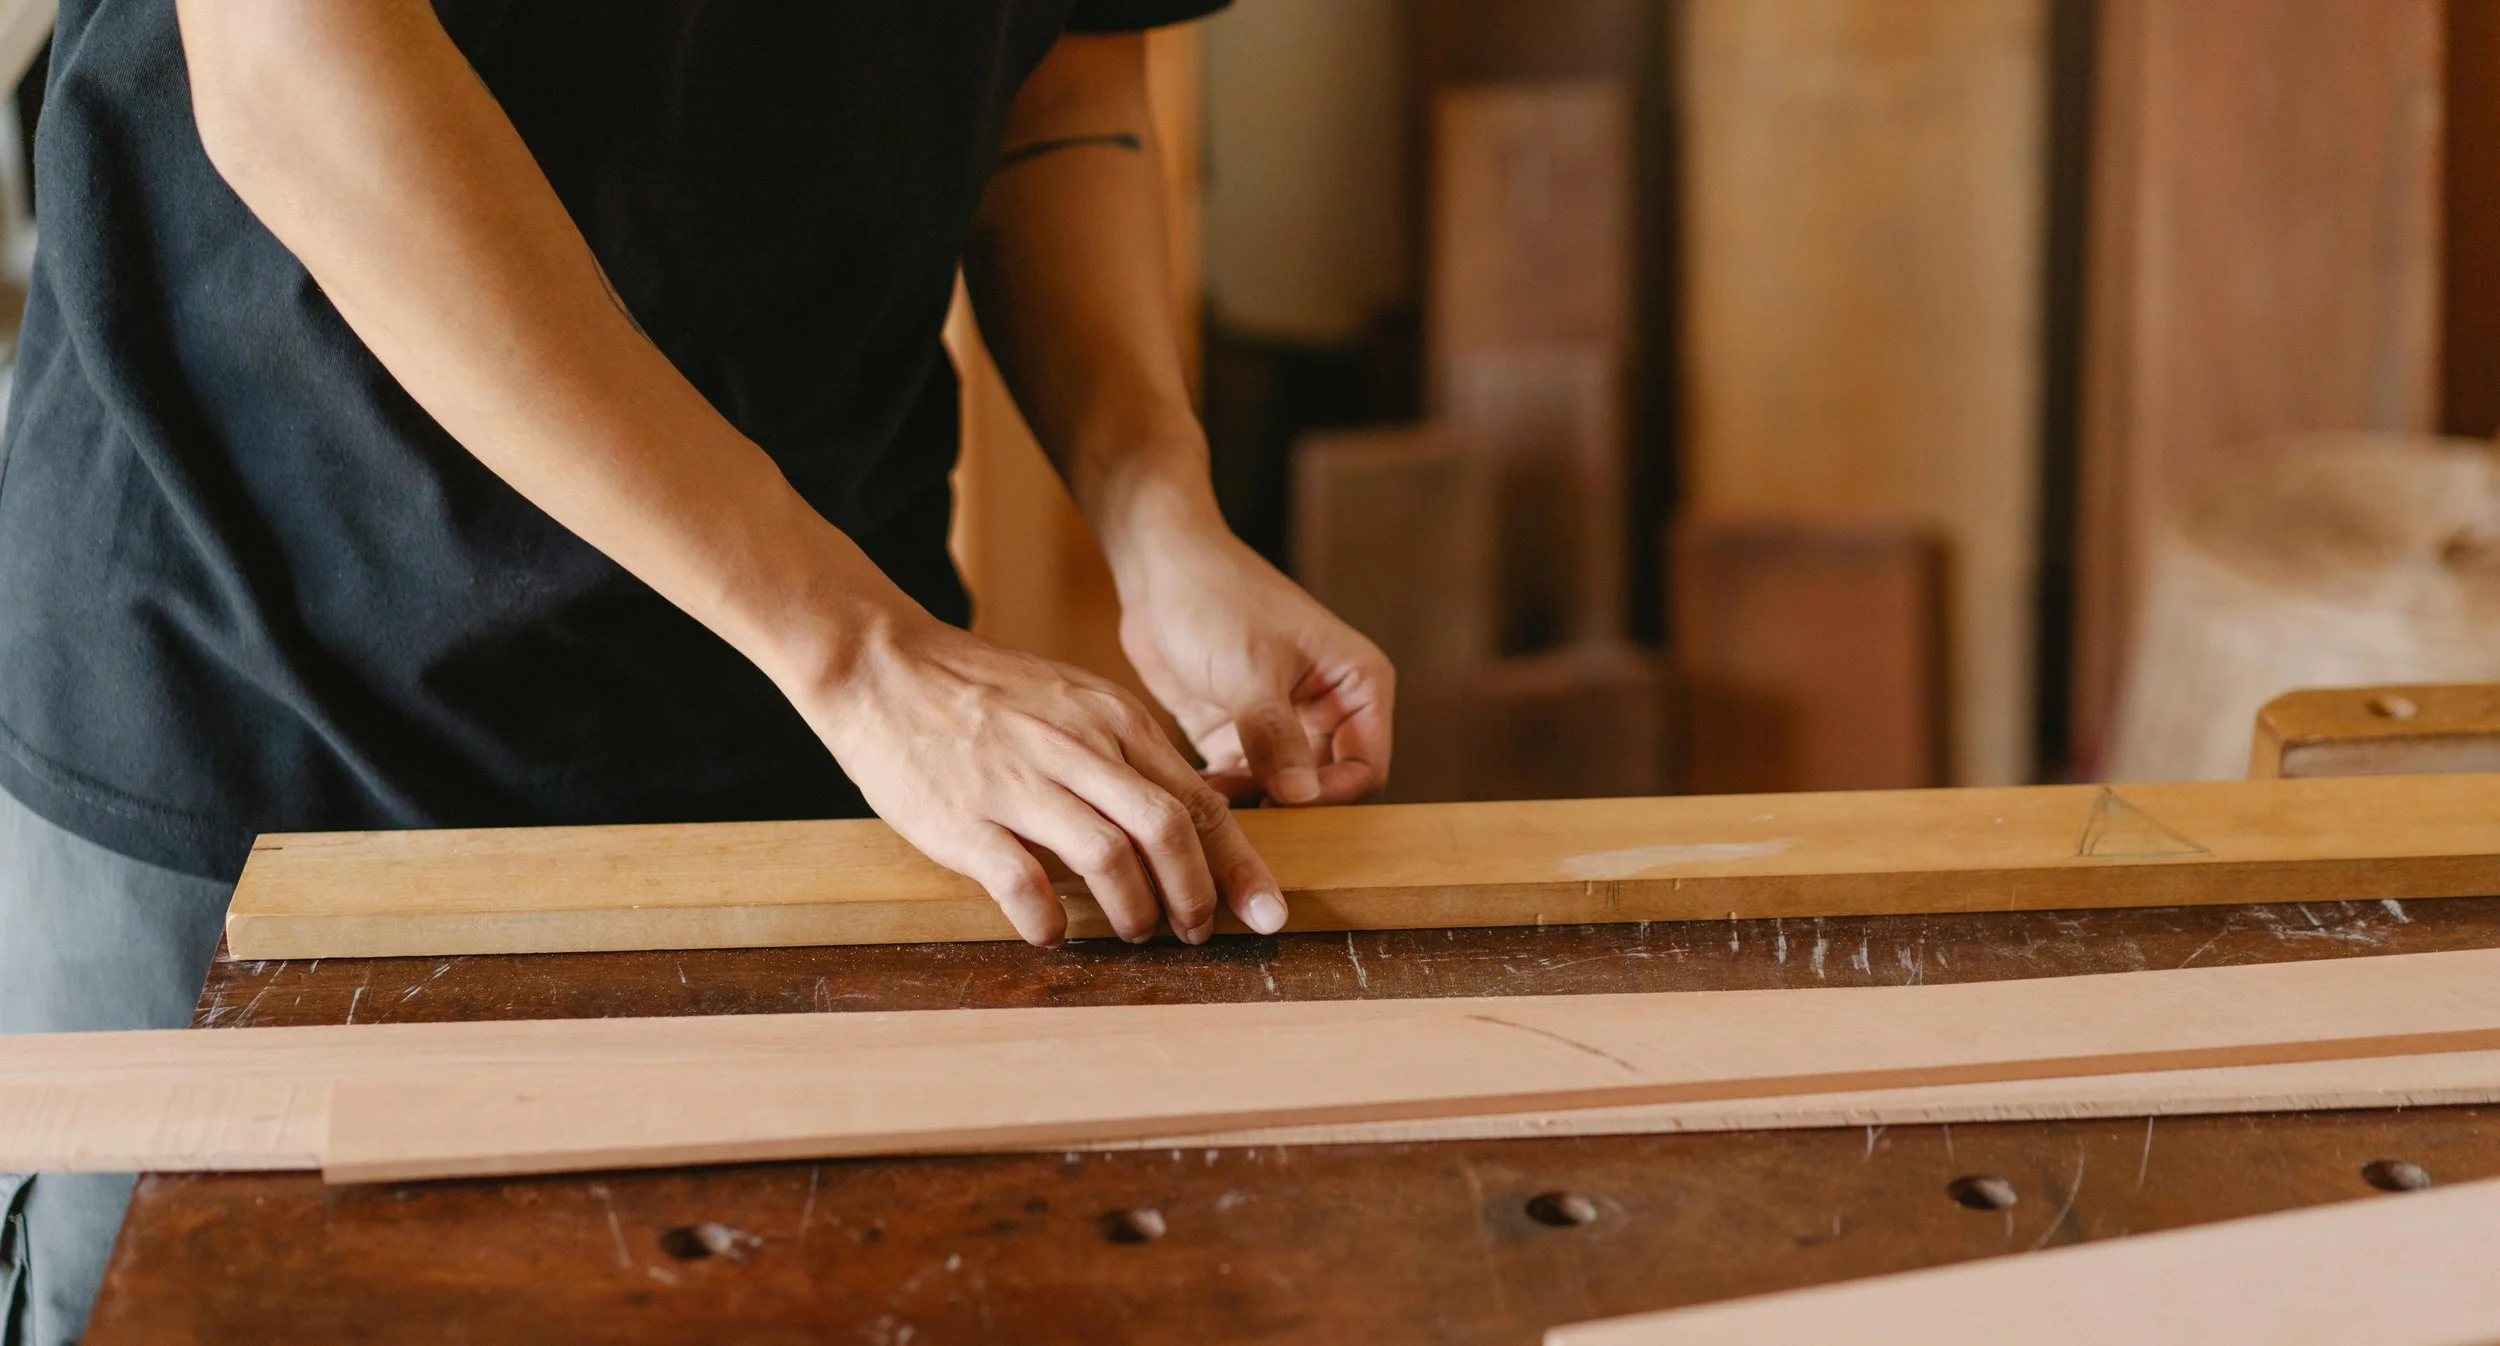
Step 1: Preparing the Wood Surface
Sanding for a Smooth Finish
Preparation is everything. If you skip this step, the final result will never be satisfactory. Sand the wood to get rid of bumpy spots and old finish. If you've got stubborn old varnish, you will need to take that off first. You can go through the chemical solution route, or try a natural one like how to strip varnish off wood using vinegar – this is effective on some finishes, although it isn't always quite as quick.
Cleaning Dust and Debris Properly
The dust is everywhere after you've sanded. Wipe it off with a tack cloth or a wet rag. It's a small step, but a bit of leftover dust can ruin a finish. I know that firsthand.
Step 2: Putting on the First Coat of Varnish
Even Application Techniques
Don't shake the tin – stir it gently instead. Shaking introduces bubbles, and the bubbles will end up on your wood. Apply varnish along the grain in long strokes. Make it thin and smooth. If you try to rush with a thick coating, you'll have only drips.
Drying Time: What to Expect
This is where patience is needed. Some varnishes take a few hours to dry, some in the night. Look at the instructions on the packet. One of the most frequent mistakes people make while learning to apply wood varnish is thinking "it feels dry, so I can continue". Touch-dry is not ready.
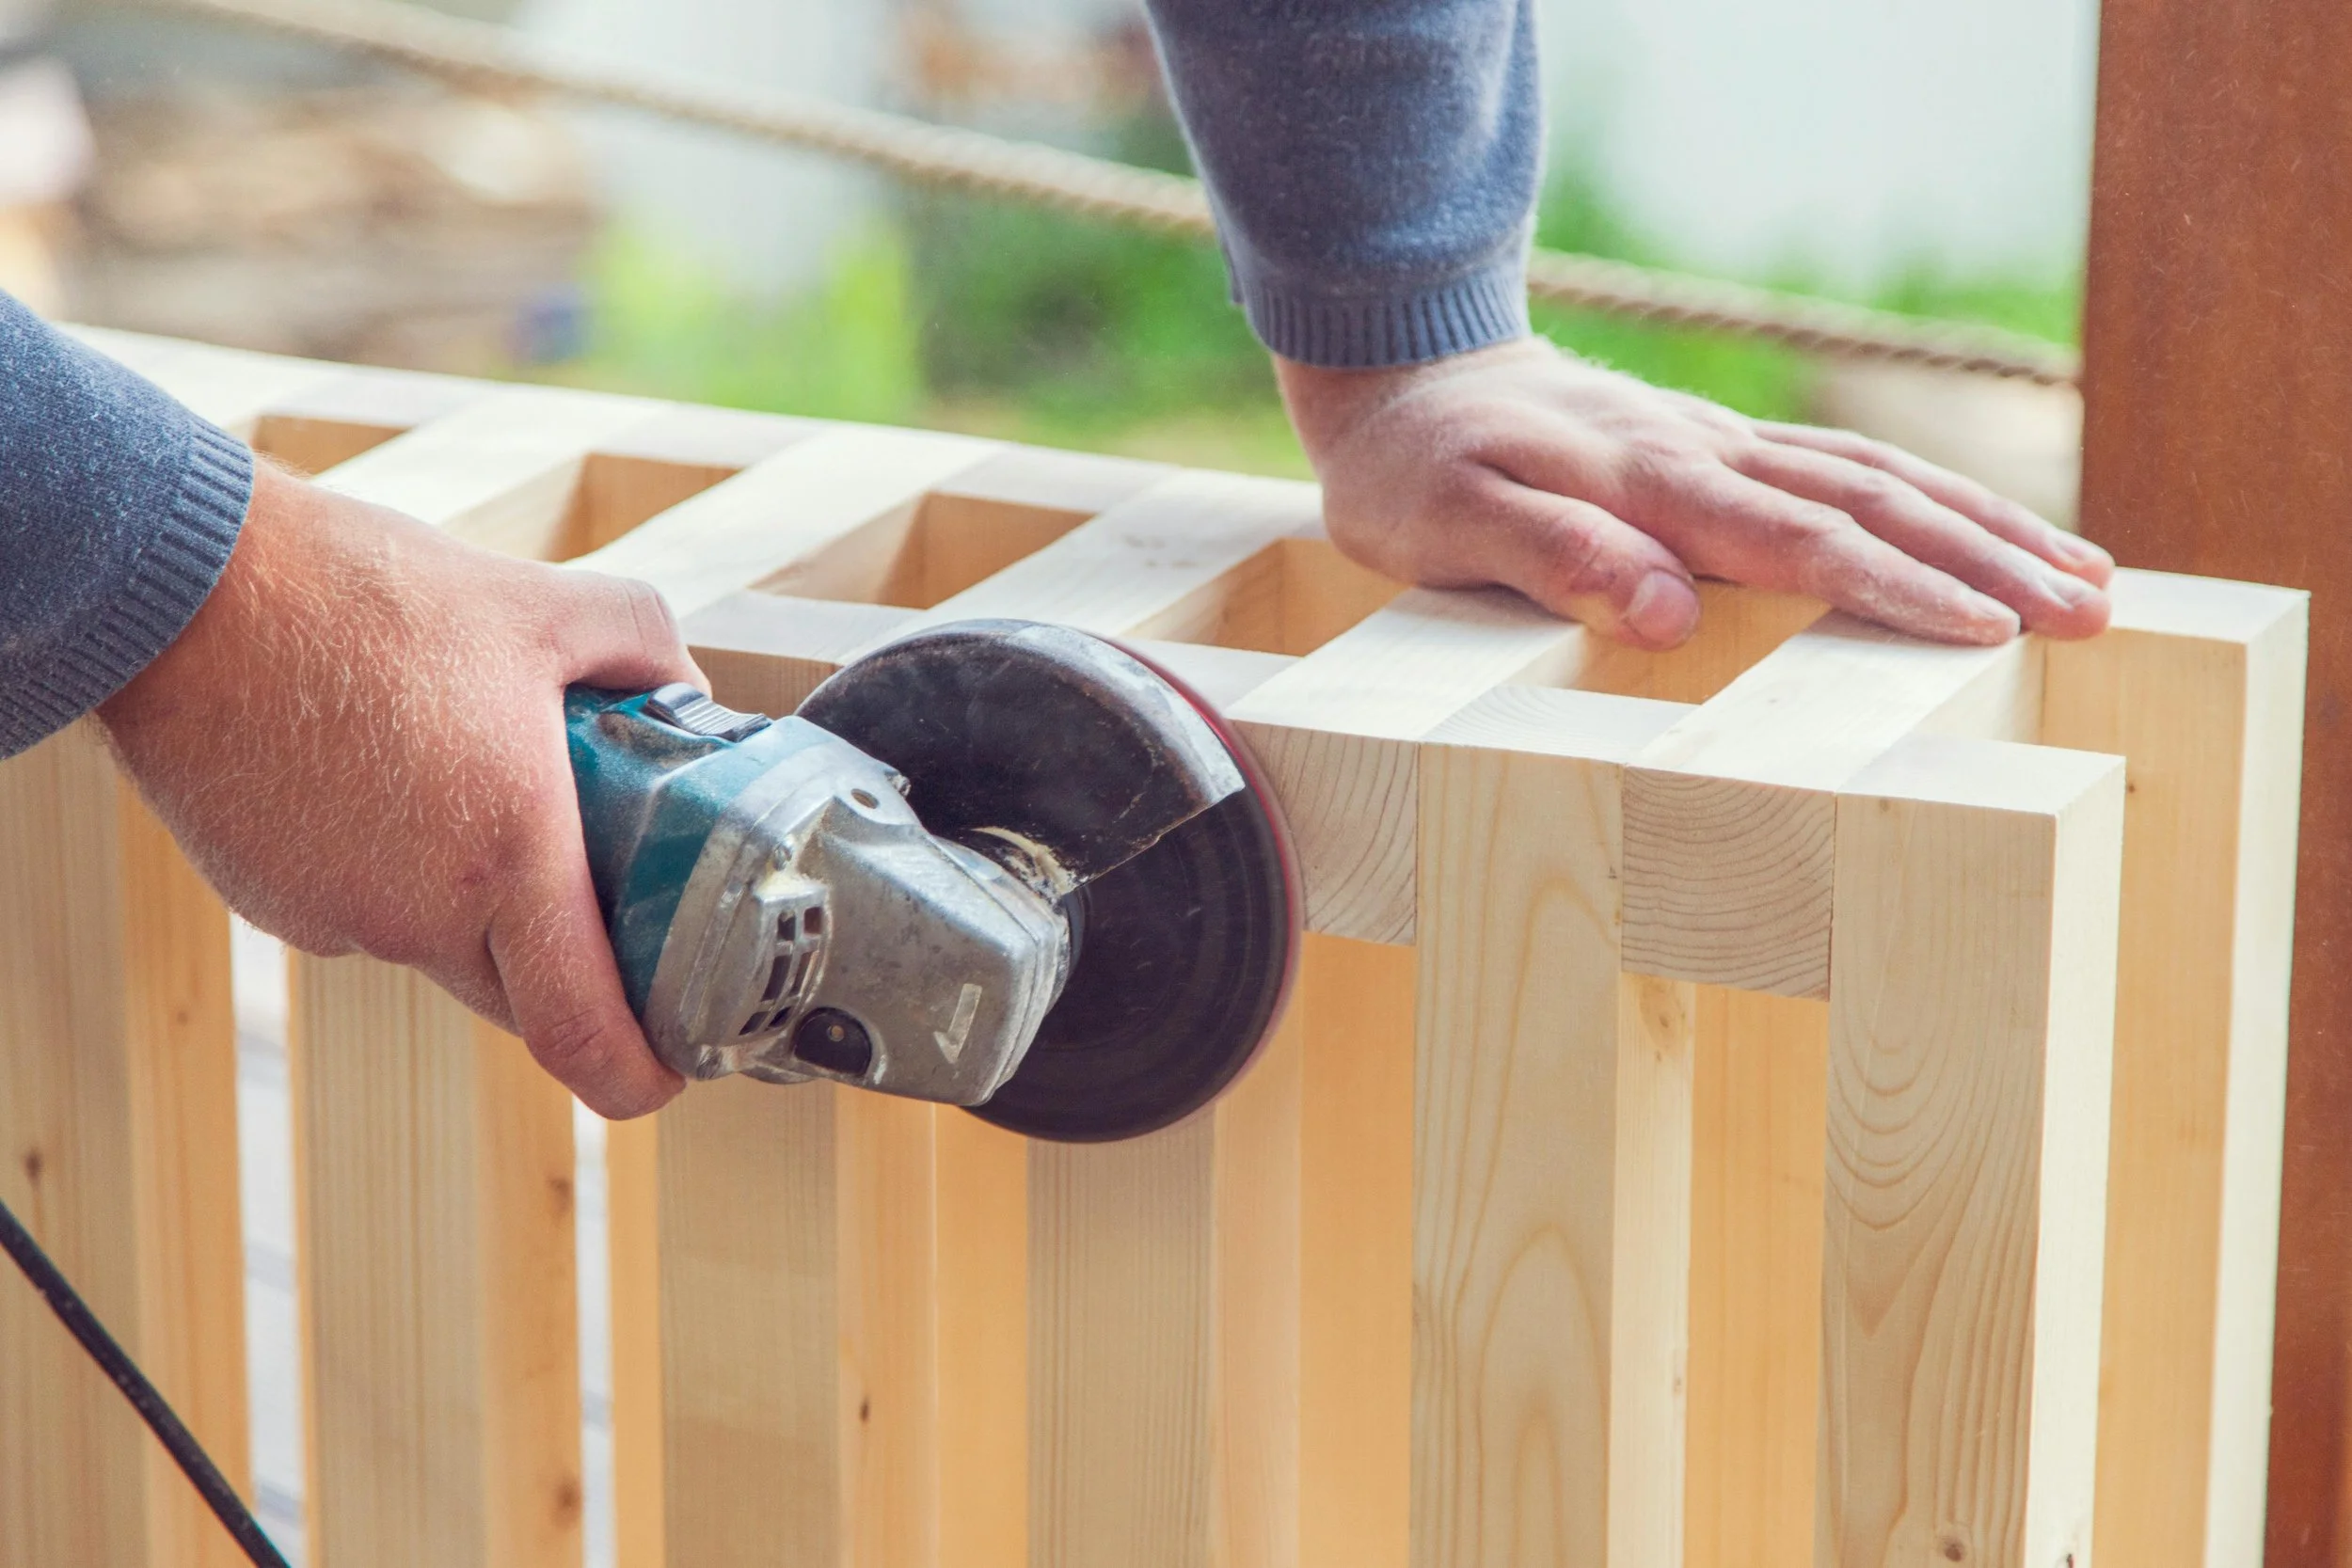
Step 3: Sanding Between Coats for Best Results
Why Light Sanding Is Important
Once the first coat has dried, it will not be as smooth as you would like. A light sanding readies the surface for the second coat and makes it stick better.
What Grit to Use and When
Finely sand it with about 320 to 400 grit and do not press on it. It is a process close to polishing rather than sanding. Clean it before you apply the next coat.
Step 4: Final Coat and Curing
Preventing Brush Strokes and Bubbles
Take it slow here. Use long strokes, and don't reapply strokes to areas that are drying. That is how you get brush marks.
How Long to Allow It to Cure Before It Is Ready to Use
Dry and cured are two different things. You can have an object of furniture take a week before you actually use it in the appropriate way. With floor varnish, make it at least two weeks before adding furniture again. It might take a long time, but the finish will last longer.
How Long Does Varnish Last on Wood
A nicely done varnish on wood furniture will last for decades. Flooring needs to be refinished every five to ten years, depending on use.
Is Varnish Waterproof?
No, not really. They're water-resistant, so they'll get through an occasional spill, but not waterproof. Polyurethane is the most reliable if you need serious protection.
Can You Varnish Over Paint or Stain?
Yes, provided that the paint or stain is fully dry and the surface is immaculate. Otherwise, it will not adhere properly.
That is the key to varnishing wood. It is all about three things: preparation, patience, and thin, even coats. Don't omit sanding, don't rush the drying, and you will be fine. Whether you are testing new wood varnish colors, refinishing an antique piece of furniture, or varnishing a big floor job, the time you spend today will pay dividends every time you gaze upon the finished surface.
Image Credit: pexels.com


