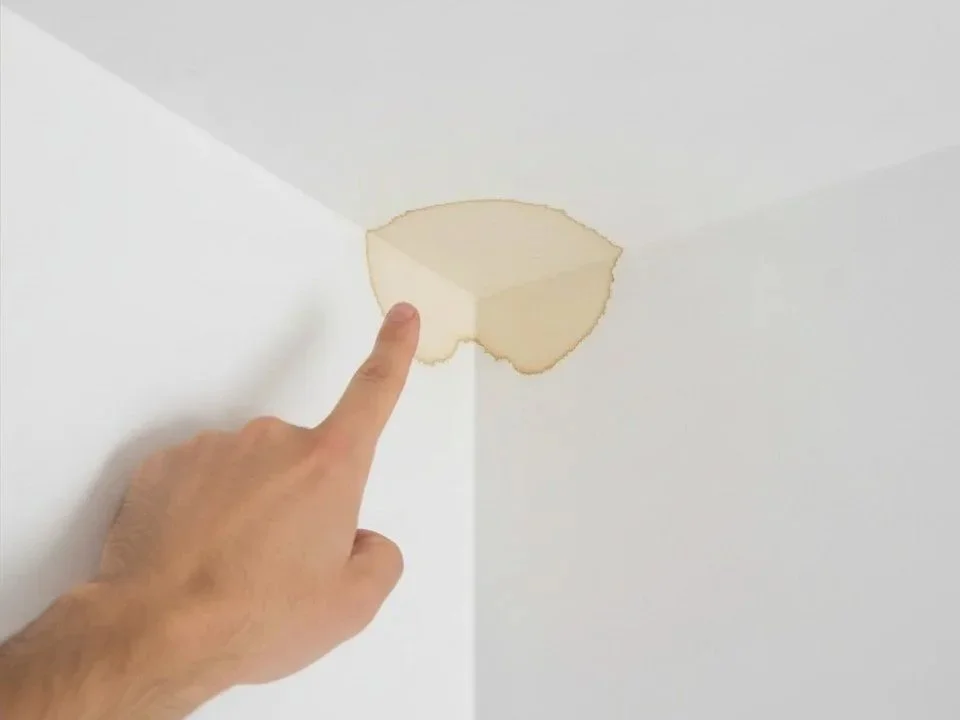
How to pressure test plumbing?
The plumbing pressure test is part of the plumbing maintenance and should be done at least once every two years. For that you will need a plumbing pressure tester.
The water pipe pressure tester should help you find out if your plumbing system is working properly or if it has any leaks, without having any water in your plumbing pipes.
Usually a plumbing pressure test should not take more than 5-10 minutes, but this depends on the length and volume of the plumbing system.
In this article you will be able to see everything you need to know about the pressure plumbing test so you will be able to know how to do it.
How to pressure test plumbing with air?
Running a pressure test for your plumbing with air is not that hard as it may sound, all you need is to follow few simple steps:
Firstly, find the main water shut off valve and turn it off. Then, after you have turned the water off, open all the faucets in your plumbing system so the water can drain out. Next, you can attach the pressure gauge to the hose bib. After that, open the hose bib and allow the air to enter the system and build up the pressure. Once the pressure has reached the required level, close the hose bib and leave it like that. Lastly, check the pressure gauge to see if the pressure has dropped. If it has dropped, bad news, it means that there is a leak in your plumbing system. But no worries, in this article we will show you how to fix your problem.
How to repair the IPS joints?
Repairing the IPS joints is not a hard job, especially if you have some DIY skill or if you are a handy person in general. To fix the IPS joints you will only need to follow few simple steps as we present you below:
If you have a leak in your IPS joints, the first thing you need to do is to turn off the water supply and then drain the water from the system. After that, you need to cut out the damaged section of the pipe and then clean and dry the pipes. Next, you need to apply the primer to the pipes and then attach the new section of the pipe to the plumbing system. Finally, you need to turn the water back on and check again for leaks.
Repairing Compression Joints
If the pressure in your plumbing system has dropped, it can only mean one thing: there is a leak in your compression joints. This situation should not worry you, because we are here to tell you exactly how it should be done. In order to repair the compression joints you will need to follow the steps below:
-Turn off the water to your house at the main shut off valve.
-Drain the water from your plumbing system by opening all the faucets.
-Remove the faucet handle, escutcheon plate, and packing nut.
-Use a utility knife to remove the old putty from the compression nut and the compression sleeve.
-Wrap the threads of the compression nut with Teflon tape.
-Reassemble the faucet and turn on the water to your house.
-Test the faucet to see if the leak has been fixed.
How do plumbers pressure test?
In order to find out if everything is alright with your plumbing system, the plumbers will pressure test the plumbing system. They will do that by attaching a water hose to the faucet and turning on the water. Then, they use a pressure gauge to measure the water pressure.
If the water pressure is too low, they will adjust the water pressure regulator. If the water pressure is too high, they will turn off the water and bleed the air out of the system.
Plumbers will also check for leaks by looking for wet spots on the pipes. If they find a leak, they will turn off the water and repair the leak.
This job can sound a bit complicated, especially if you have not done it before or if you do not have the right tools.
However, if you do not feel confident enough to repair your plumbing system by yourself, you can always count on HomeRun to find a professional plumber to do it for you. Just click the link below and make a request.
Visual Source: Pinterest


