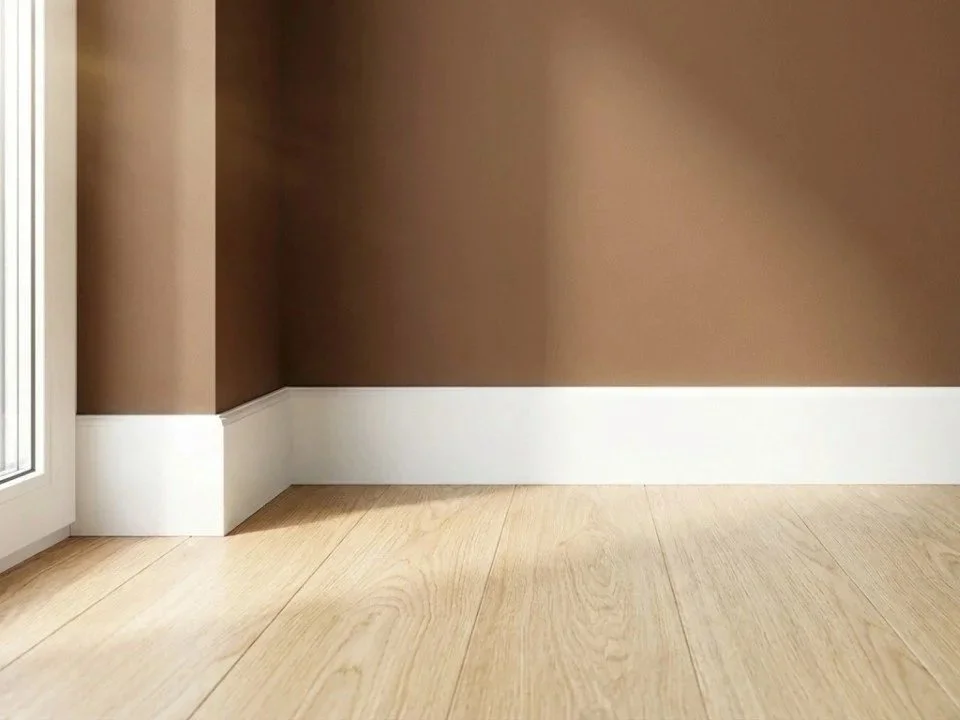
Replacing Worn-Out Skirting Boards: How to Install Baseboards
Baseboards. They are one of those things you hardly think about… until you notice the paint peeling, the corners chipped, or the walls looking a bit scruffy. And suddenly, you realise they make a bigger difference to a room than you thought. Not only do they protect your walls, but they give a sense of completeness — that “finished” feeling you can actually see. If you have ever wondered how to install baseboards yourself, this guide is here to help — and I promise, it is more approachable than it sounds.
DIY Wall Panelling Ideas for Modern Homes
How to Fix Low Shower Water Pressure
How to Choose TV Screen Sizes? The Ideal TV Sizes for Your Space

When to Replace Skirting Boards
So, when exactly should you replace skirting boards? Well, if the boards are warped, cracked, stained, or just looking tired, it is probably time. Even small imperfections become more noticeable once the rest of the room is spruced up.
Also, if you are redecorating or laying new flooring, it makes sense to tackle the skirting at the same time. Replacing them during a home renovation trim installation saves you from having to do it twice. Plus, fresh boards make even the simplest room feel… polished.
Tools and Materials Needed
Before you rush out to buy timber, take a moment to get your kit together. Having the right tools for baseboard installation makes a world of difference — trust me, you do not want to stop midway because you forgot something essential.
Measuring Tape and Pencil
This is obvious, but worth repeating: measure carefully. And yes, double-check your numbers. Nothing worse than cutting a board too short.
Spirit Level
You want the boards straight, obviously. Even a slight tilt is visible — your eye notices it more than you think.
Saw or Mitre Saw
A mitre saw is ideal for clean angles. But if you only have a handsaw, it can work — you just need patience and maybe a little extra sanding.

Hammer or Nail Gun
A nail gun is a speed demon, but a hammer will do the job fine. I usually use a hammer because I like feeling connected to the work — call me old-fashioned.
Adhesive or Grab Glue
This is particularly handy for walls that are slightly uneven. It helps the boards stay in place while you secure them.
Nails or Screws
Pick the right fixings for your wall type — masonry, plasterboard, or timber studs all behave differently.
Caulk and Caulking Gun
Ah, caulk… your best friend for making joins invisible. You will need this if you want the finish to look professional.
Sandpaper or Filler
Use filler for nail holes and sand rough edges lightly. Do not skip this step — it makes painting much easier.
Paint or Finish
A coat of paint or varnish gives a proper finish. And yes, it feels very satisfying to see those clean lines appear.
Safety Goggles and Gloves
Seriously. You do not want to be that person with a splinter in your finger or dust in your eye.

How to Install Baseboards
Preparing the Area for Installation
First things first: move the furniture, clear the floor, and lay down dust sheets. If you are painting or wallpapering, do that first. Nothing worse than getting glue or dust on freshly decorated walls.
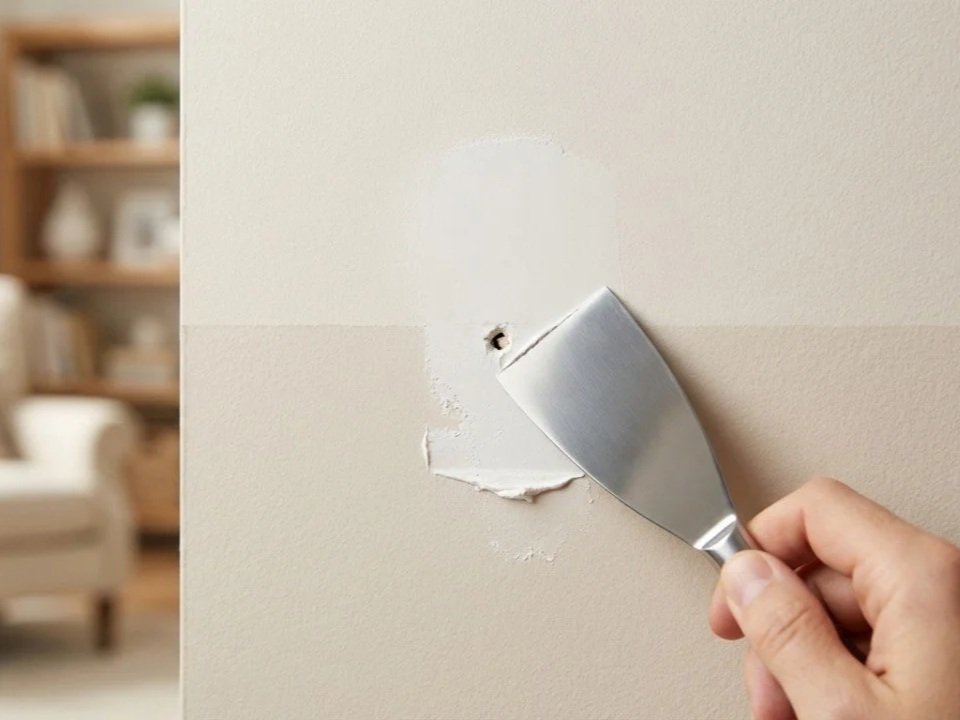
Removing Old Skirting Boards
Take your time here. Score the paint line carefully and use a pry bar or scraper to remove the old boards. Plaster walls can be delicate, so go slow. And if you plan to reuse anything, label it and store it safely.
Honestly, this part can feel a bit tedious, but think of it as setting the stage — a bit like preparing the canvas before painting.
Measuring and Cutting New Boards
Measure each wall individually rather than assuming the lengths will match. Corners require mitre cuts at 45 degrees — inside and outside corners behave differently, so a little practice on scrap pieces is not wasted.
If you are unsure how to cut baseboards corners, test it first. I have wasted a few boards learning this the hard way, and trust me, nothing is more frustrating than a badly aligned mitre.
Fitting and Securing Baseboards
Apply a thin bead of adhesive to the back of the board, press it against the wall, and check it with your spirit level. Then secure it with nails or screws. On uneven floors, small shims can help the boards sit flush.
If you are joining two boards, try a tight butt or a scarf joint. It just looks better than a blunt end-to-end meet. And yes, a small gap here or there is okay — you can fix that later with caulk.
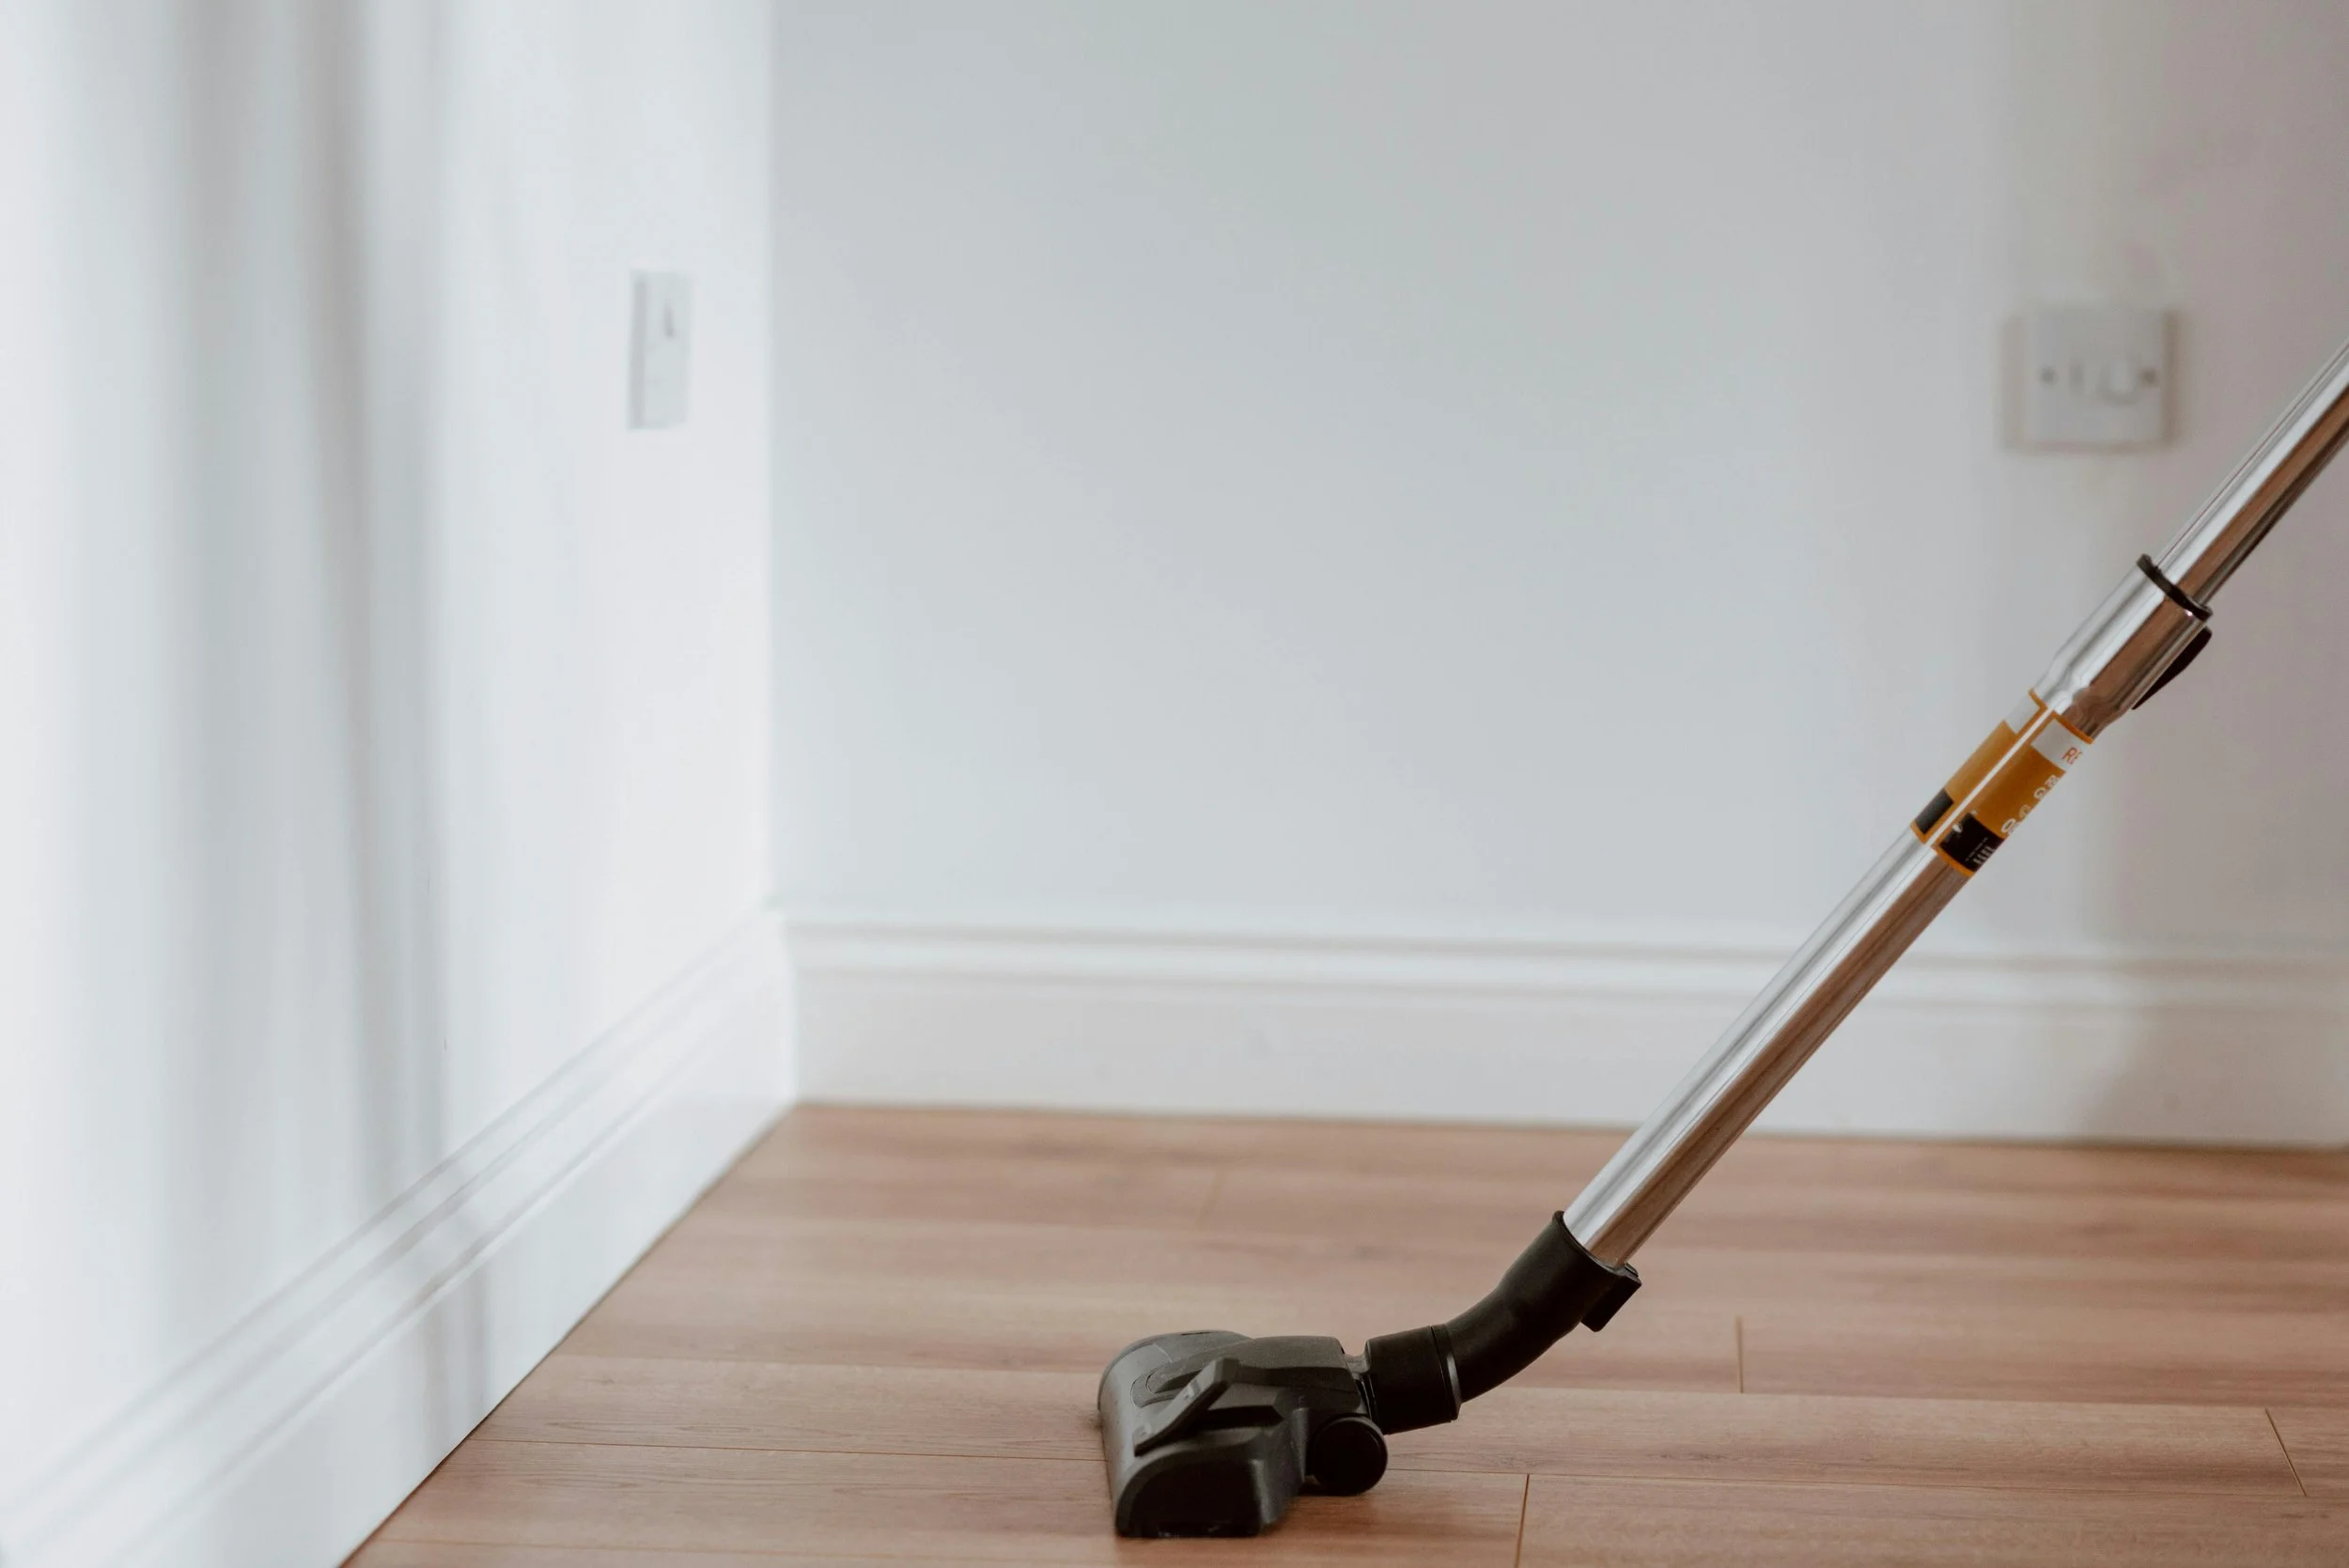
Finishing Touches for a Clean Look
Run a bead of caulk along the top where the wall meets the board, smooth it gently, and fill any nail holes. Lightly sand, then apply your paint or finish. Two coats usually do the trick.
Honestly, this step is the most satisfying. Suddenly, the room looks complete — like it has been touched by a professional. And that is the joy of DIY baseboard installation.
Find Local Carpenters on Homerun.co.uk
Not confident doing it yourself? Or maybe you just want it done quickly and properly. Local carpenters on Homerun.co.uk can handle your home renovation trim installation efficiently. It is worth checking out — especially if the room is large or the walls are tricky.
Image Credit: pexels.com